
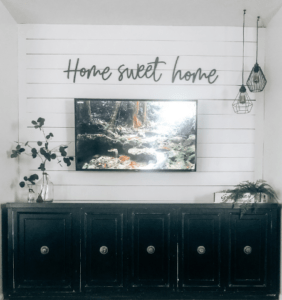
A Shiplap Accent Wall will make a dramatic visual impact in any space! Do it yourself shiplap is a way to get the look for less! Our do it yourself shiplap accent wall totally transformed our living room. The white shiplap instantly lightened and brightened up the room plus added some popular farmhouse flair.
Do it yourself shiplap is a great way to get this poplar farmhouse trend in your home on the cheap! The main difference between “real” shiplap and this do it yourself shiplap is the thickness of the shiplap planks. My do it yourself shiplap planks are only 1/5″ thick. That means they are super thin and lightweight which means it is easier to hang, and of course- less expensive!
If you are willing to do this one extra step… make your own shiplap by cutting shiplap planks out of sheets of plywood… you can have shiplap on the cheap! I used very thin 1/5 inch thick plywood sheets. Each sheet is 4 feet x 8 feet wide. Because they are super thin they’re light-weight which means easier to hang and less expensive! With the hack to give the do it yourself shiplap extra dimension- no one will ever know the difference!
Do it Yourself Shiplap TV Wall in 3 Steps:
- Measure, mark, and cut your sheets of plywood. I made my planks a tad less than 6 inches wide. I don’t have a table saw to make perfectly straight cuts. We used a handheld miter saw to try to cut down the lines I marked manually- therefore they weren’t perfectly straight. I love the look of it, because it just adds to the character of the wall making the gaps little bigger here and there.
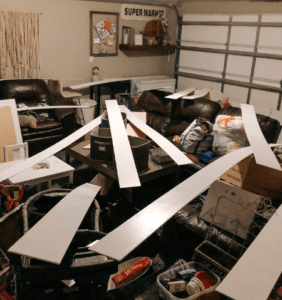
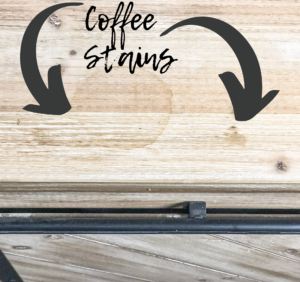
- Paint the shiplap planks after cutting so you can sand any jagged, sharp edges and wrap the paint around the edges. To dry the planks I balanced them on the crazy amount of items I had in my garage at the time… yikes!

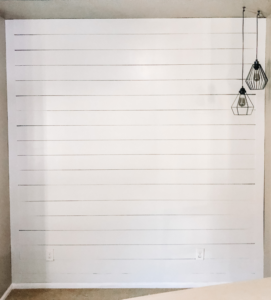
- Attach the shiplap planks to the wall with a nail gun if you have one… if you don’t you could totally just hammer them in with nails to make this work… anything that’s a little different just adds to the character! Use a nickel or a two nickels stacked together in between them to space the planks apart uniformly.
Do It Yourself Shiplap Hacks for Clean Edges & Hiding Cords
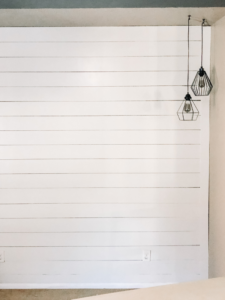
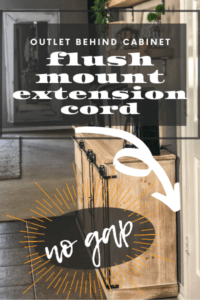
My wall was just a little wider than the 8′ shiplap planks so instead of making it complicated I just centered them and added a 4 inch strip of the same plywood vertically on each side. Since the planks are so thin you can’t tell that it doesn’t lay 100% flat (because it covers the edges of the shiplap on one edge and then goes down 1/5″ to the wall in the corner). I utilized that space on this side to feed the cords for the hanging lamps down the wall.

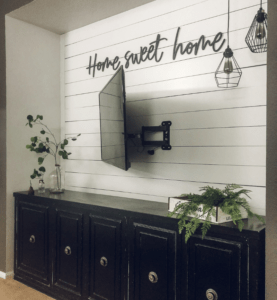
We mounted our TV right over the thin planks (into studs) so when you pull & swivel the TV around there aren’t any unsightly patches of missing shiplap. A friend came over to show me how to drill a hole behind the TV with a spade drill bit to feed the cord down behind the drywall.
Add Extra Dimension to Your Do It Yourself Shiplap
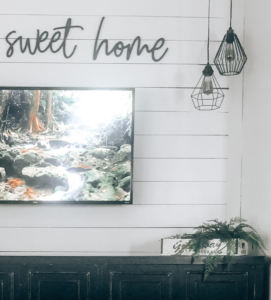
The wall was already painted a charcoal gray color so the contrast between each plank adds that much more dimension. Even though the planks are so thin you would never guess that because these dark crevices make it look so much deeper.
So it seems just some elbow grease & under $100 are the only things standing between you and having do it yourself Shiplap in your home!
Happy Shiplapping!!!
Another inexpensive accent wall DIY- Faux Brick, check it out in our garage!


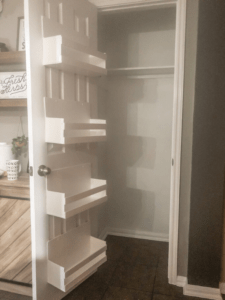
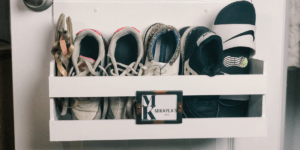


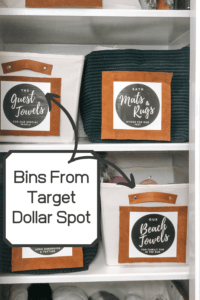
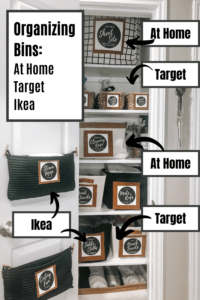
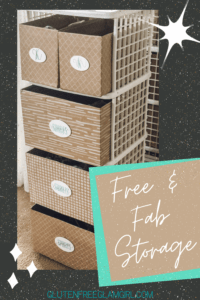
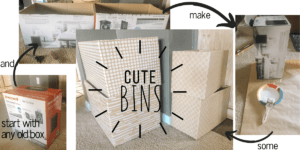
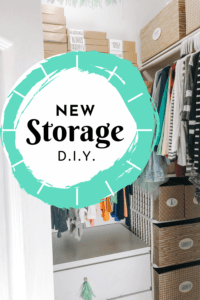
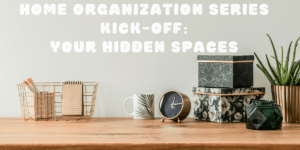
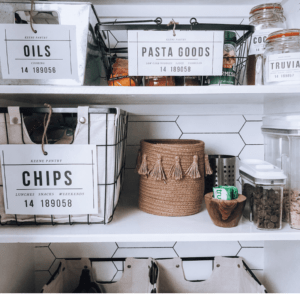
 “I’m bored in the house, and I’m in the house bored…” Tyga’s lyrics ringing true to you in quarantine at all? Okay, lets use this time to for something productive and satisfying then- Organize!! Woohoo! But wait, its only fun when you have cute organizing cubes to put everything into. Plus money is tight and those cubes are expensive. This DIY storage cube is your free solution.
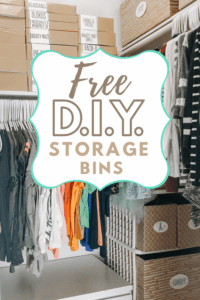

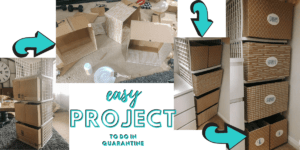

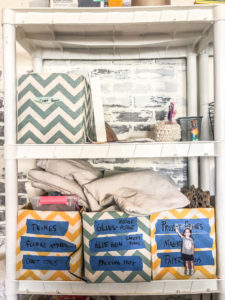
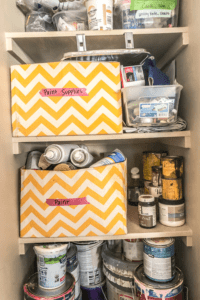
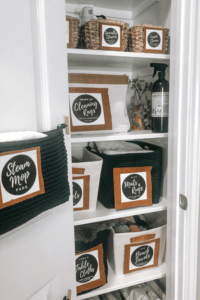
 Now that we have gone over the why- here are some obstacles we all face while organizing these jam-packed hidden spaces. The “during” is always worse than before you started. When you are redoing a closet/pantry, even under the sink… Everything has to get pulled out into a disastrous looking mess. There is always that wide-eyed moment of “What did I get myself into?!” Just remember it is always worse before its better- and you are on your way to better! Now during the worse…
 Now that we have some tips to stay motivated- we need a method to get the madness done- Have you heard of the scrum method? You can learn more about it in this easy breezy podcast episode by Screw the 9 to 5-
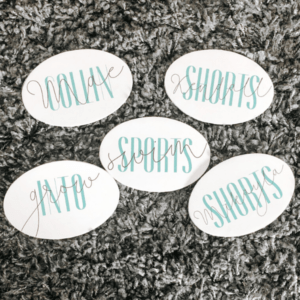
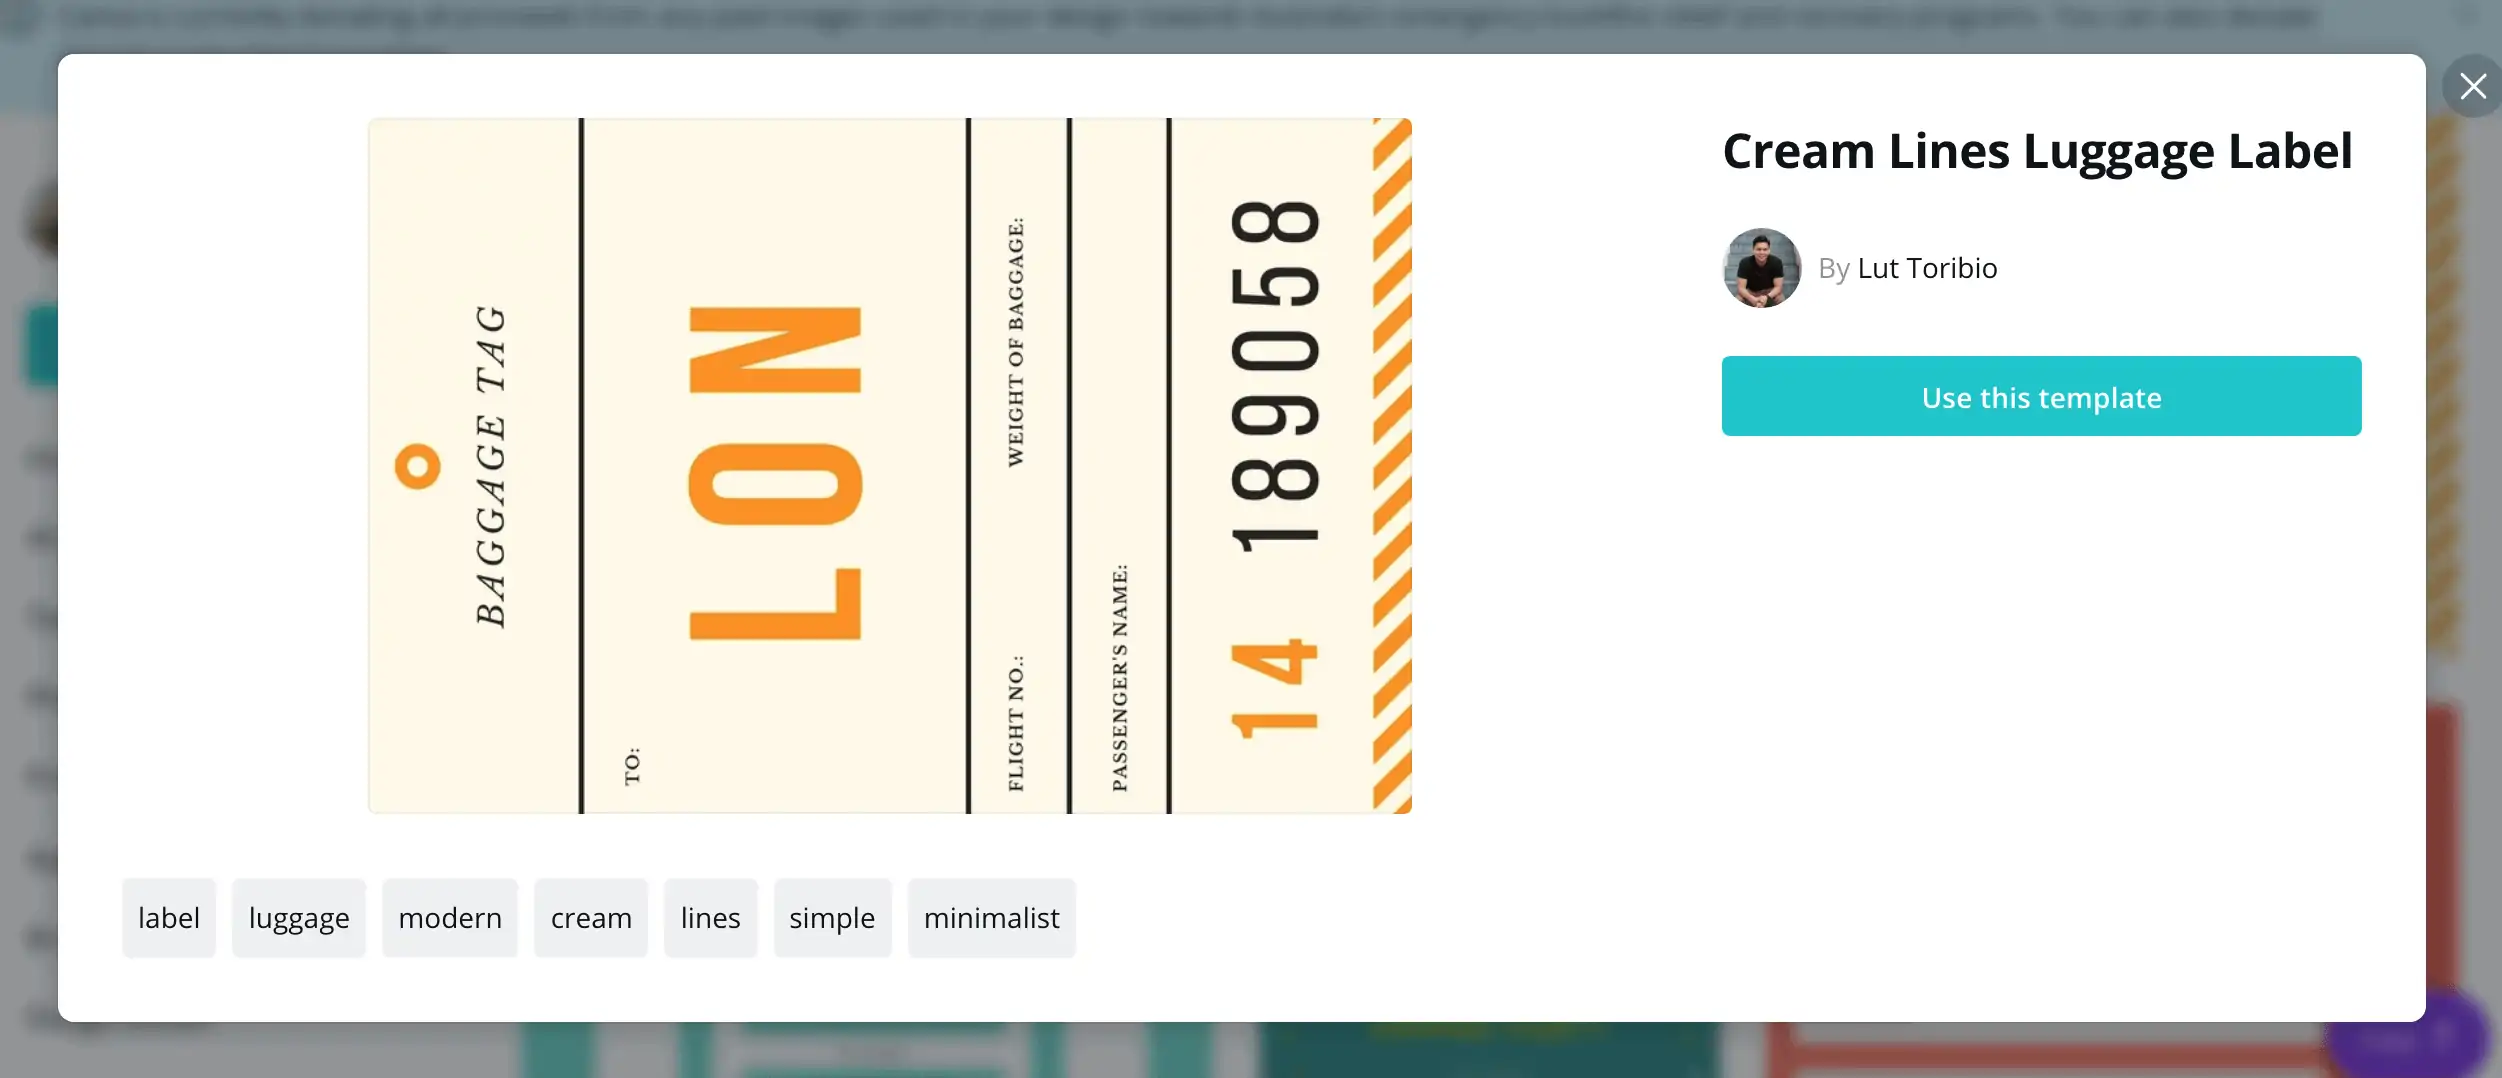
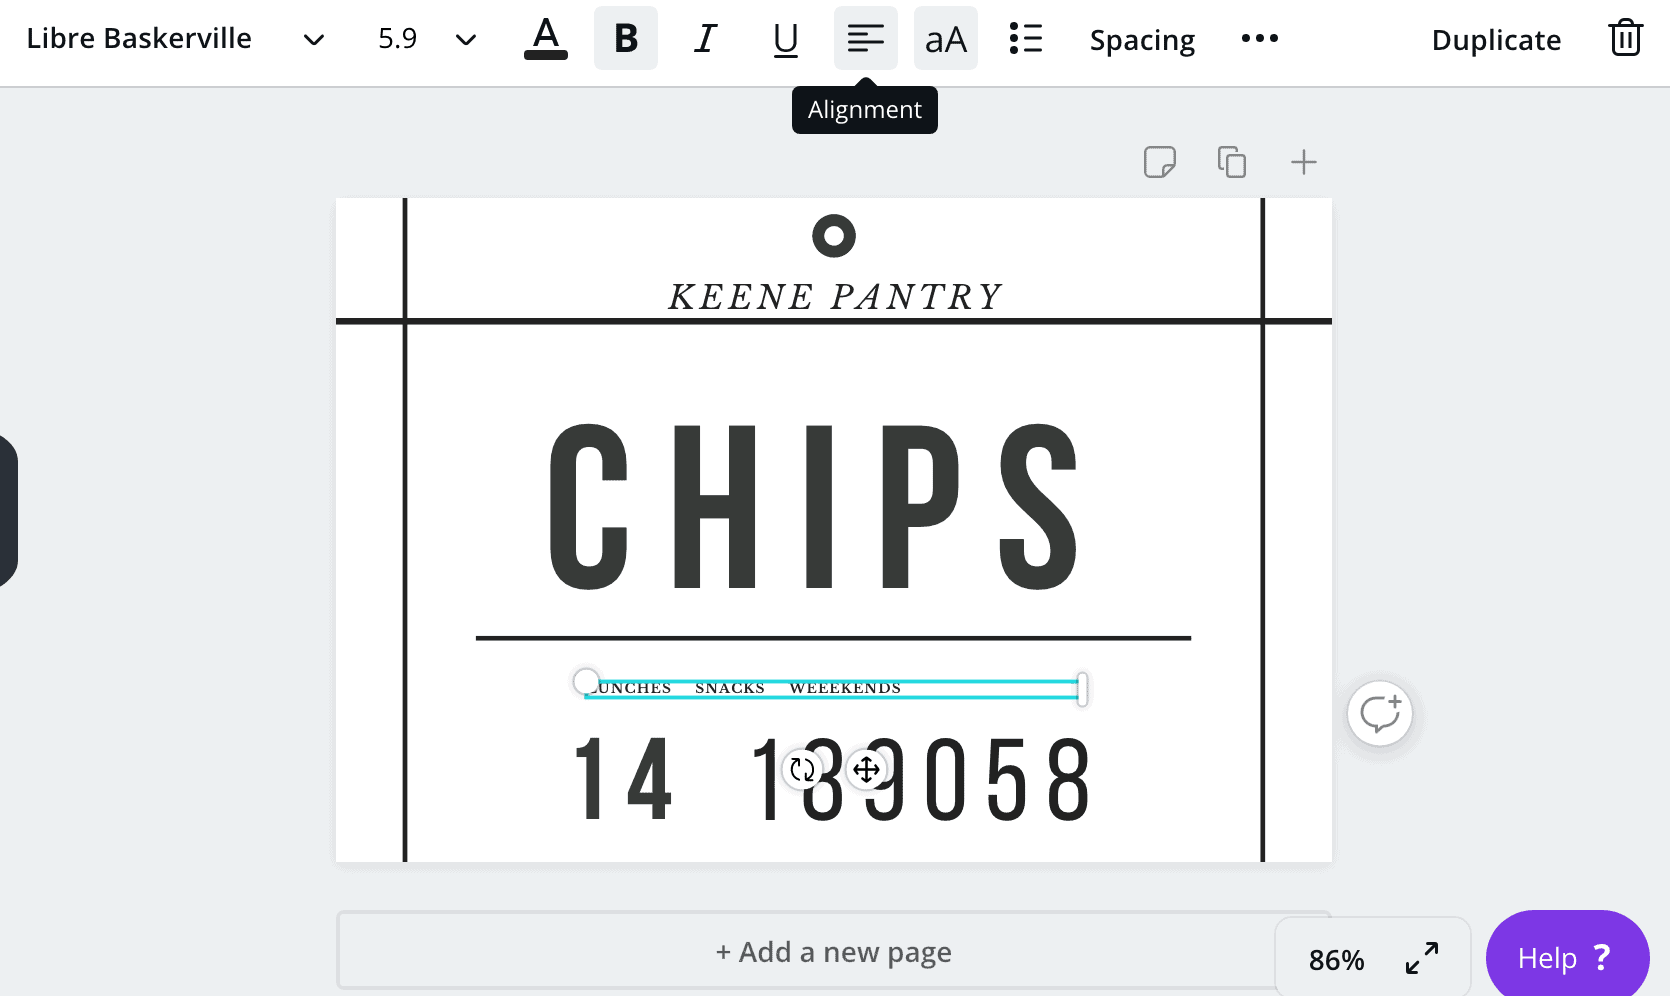
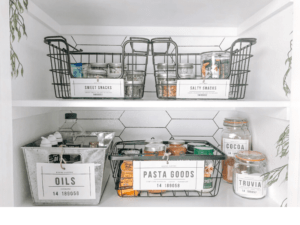 If you want to get my labels for each project free in your inbox, just Subscribe to my email list and I’d be thrilled to send them to you! Just put your email into the opt-in box at the top of my website to subscribe.
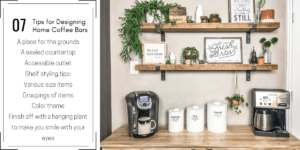

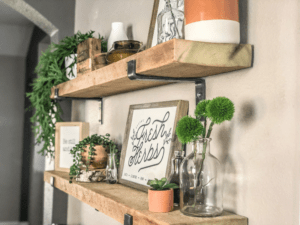 5. Home Coffee Bar Shelf Styling with Groupings of Items-
 6. Home Coffee Bar Color Scheme-
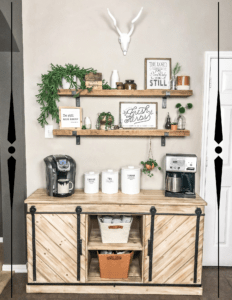 7. Add a Hanging Plant to your Home Coffee Bar-
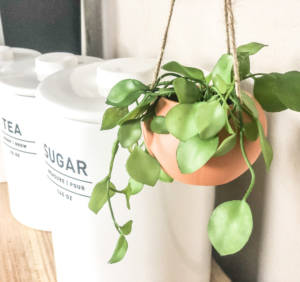 These are the things I’ve learned through the creation process of this stunning & completely functional coffee bar. And in case you were wondering- yes, coffee does taste better from my new coffee bar! Can’t wait to have some friends over for a Hot Cup of Joe.


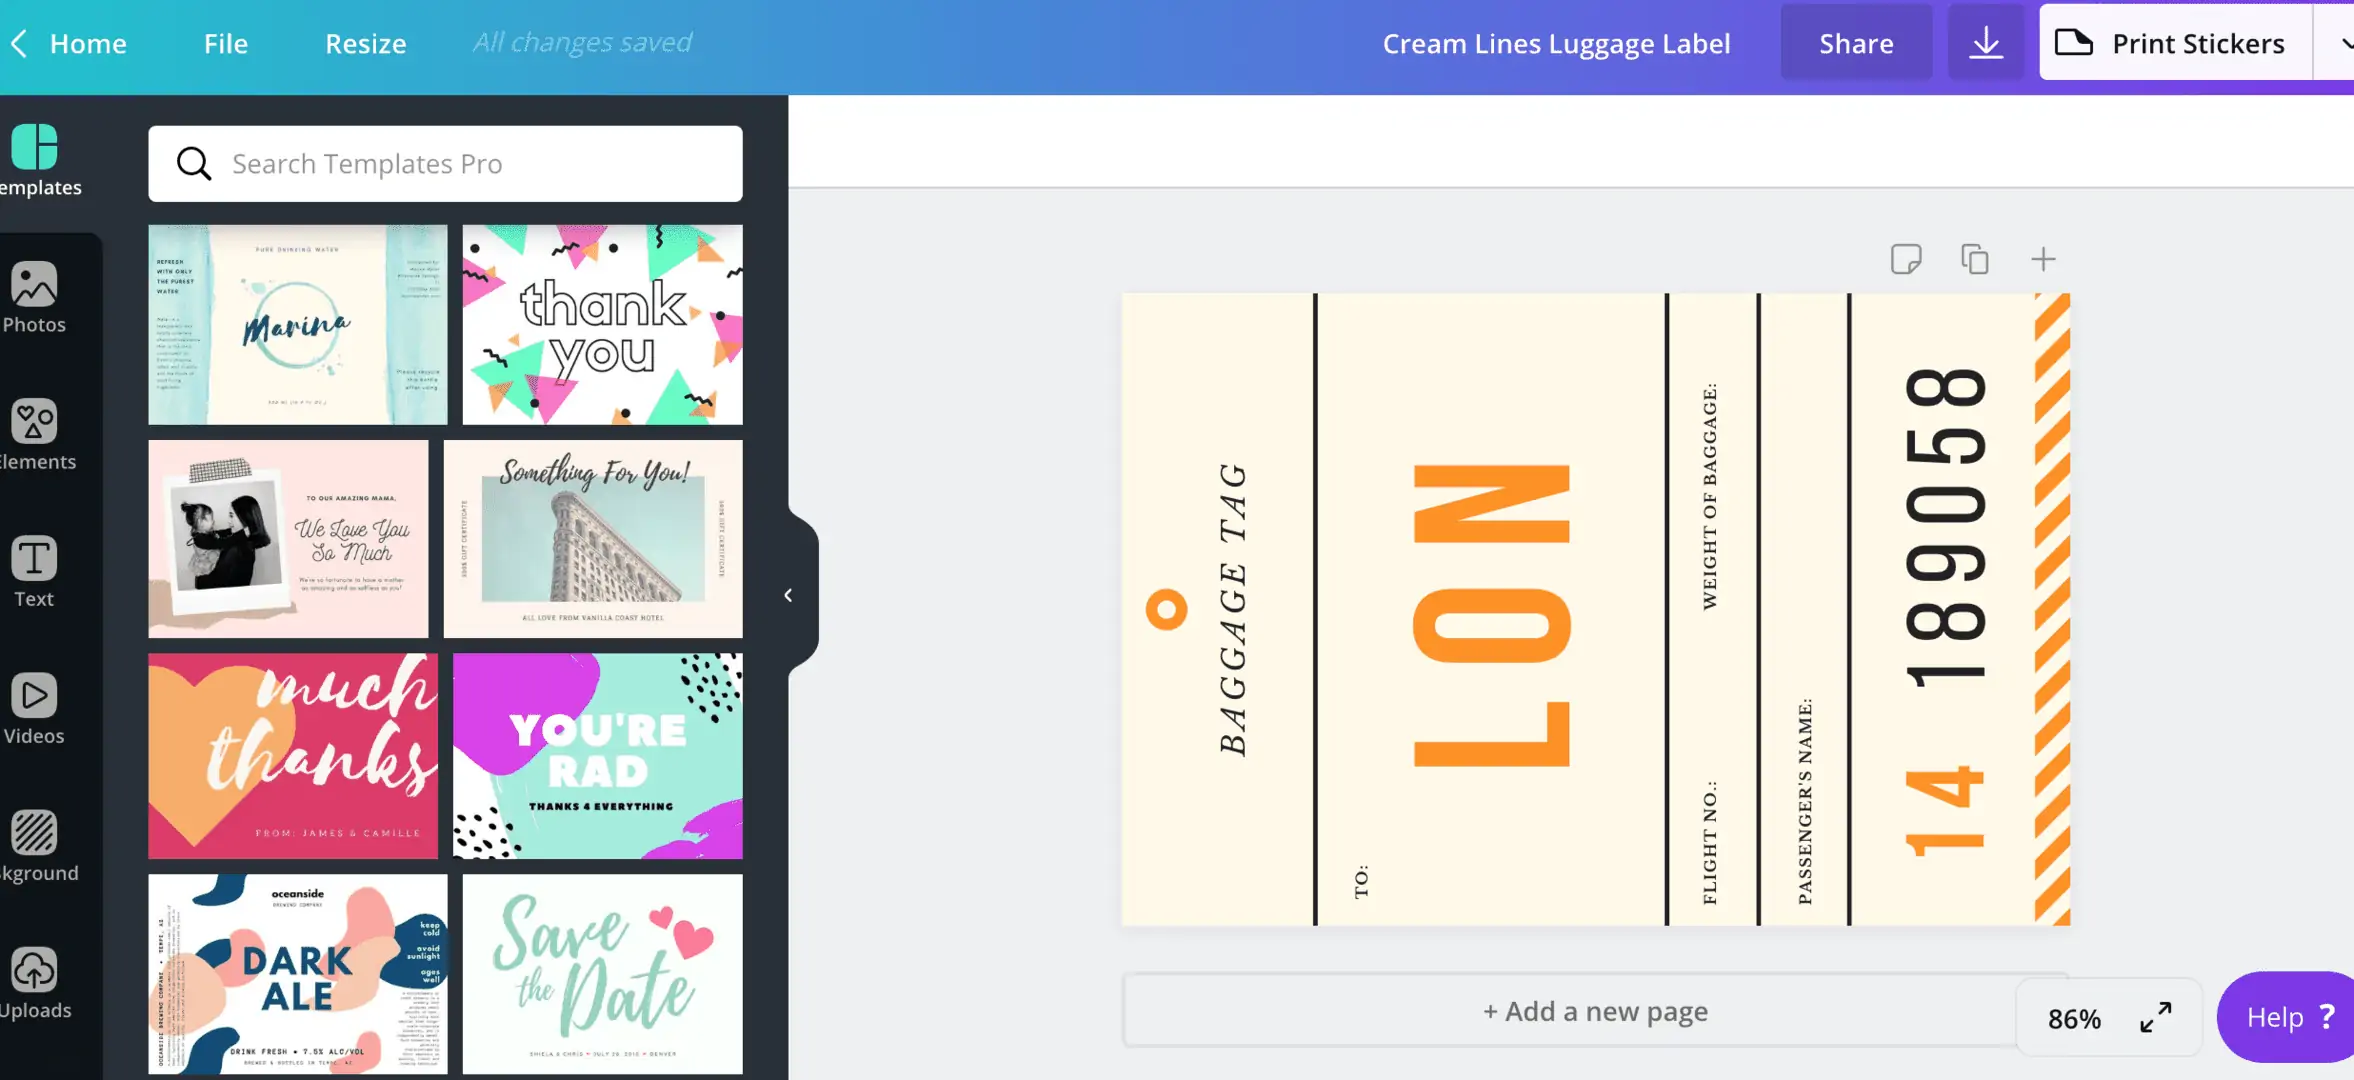

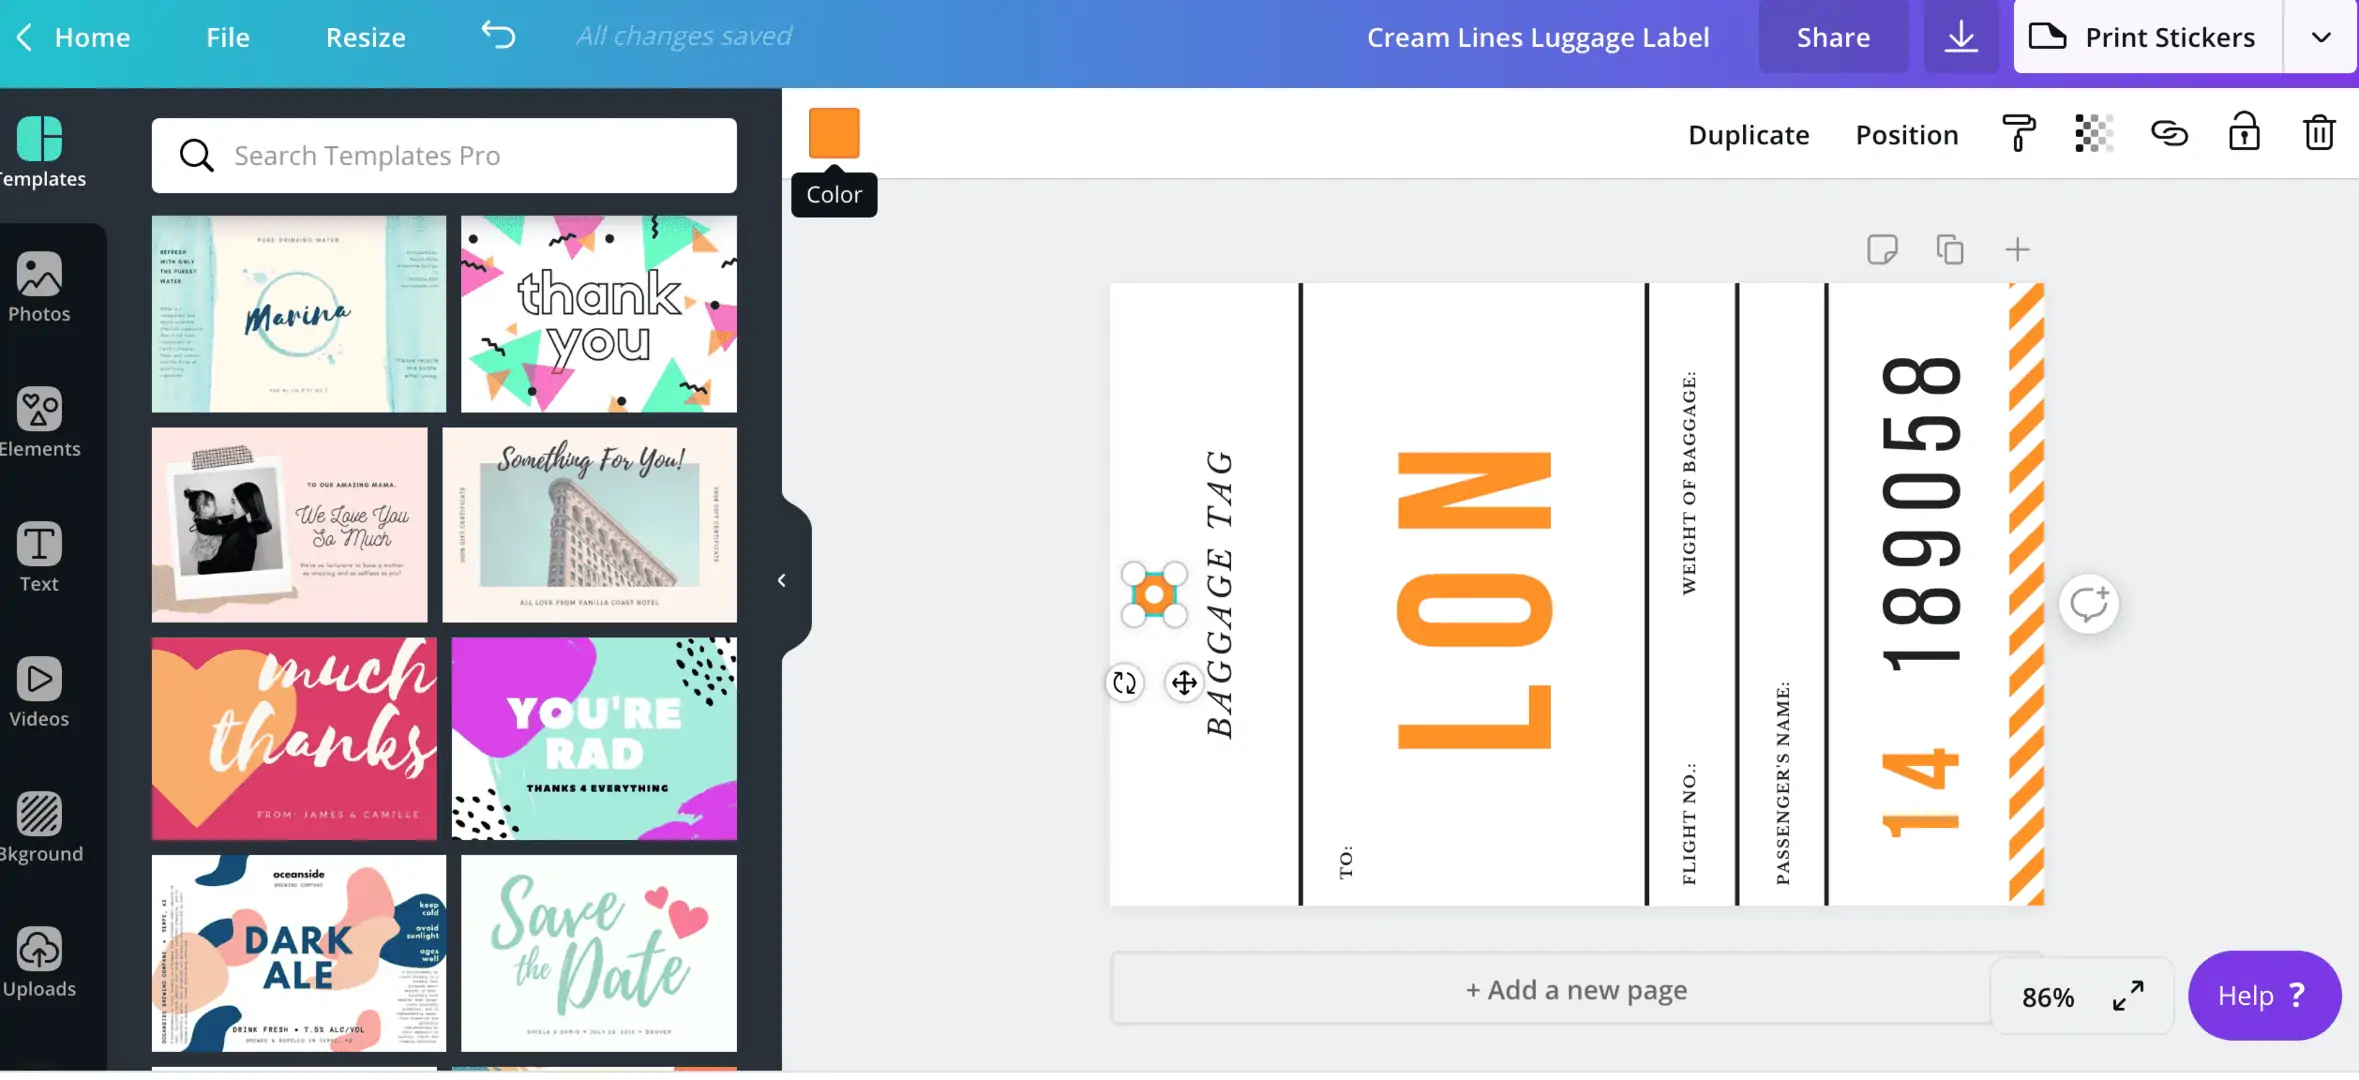
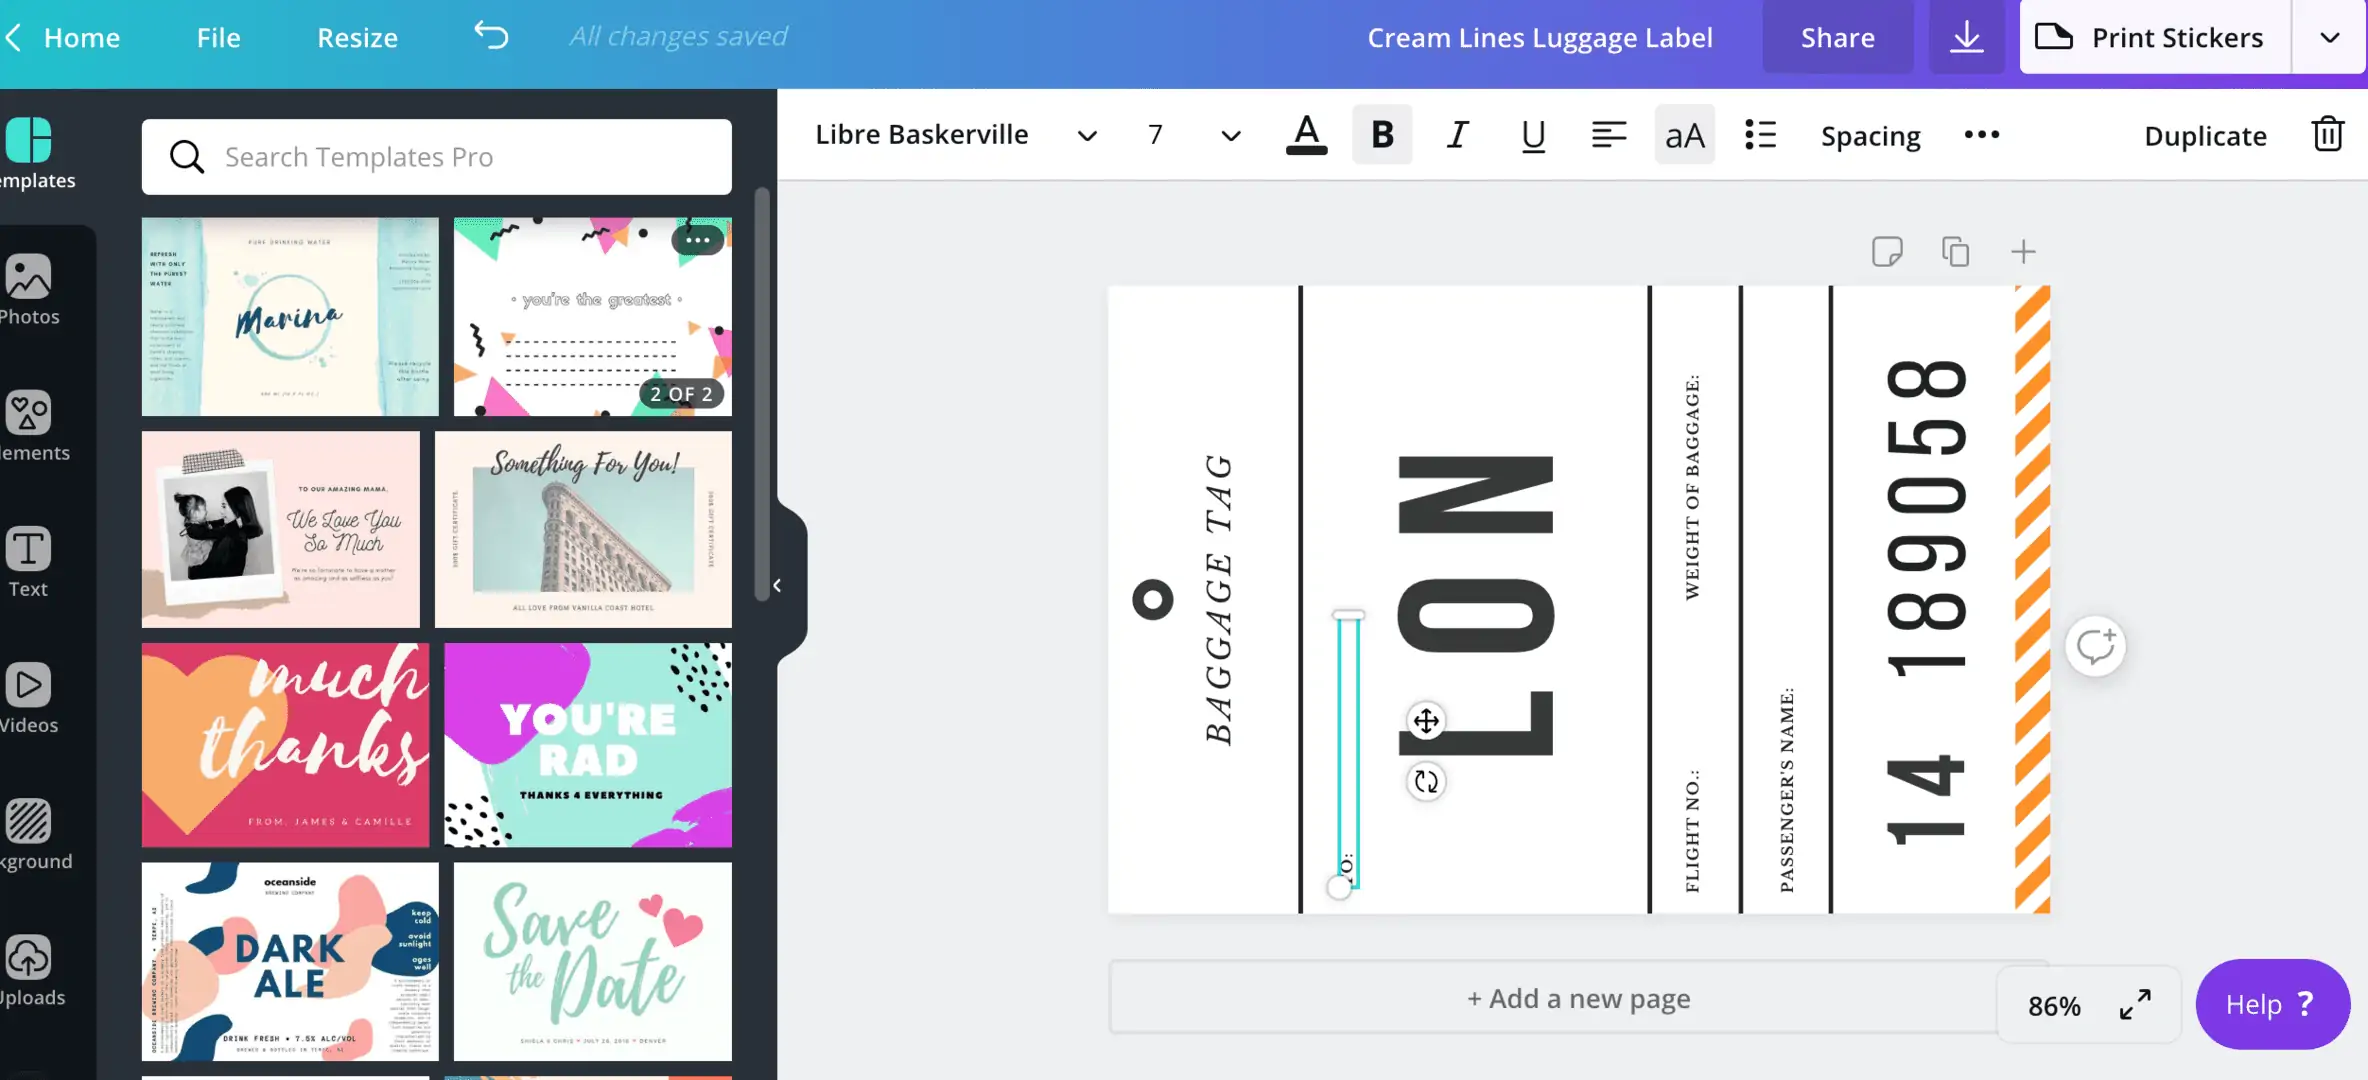

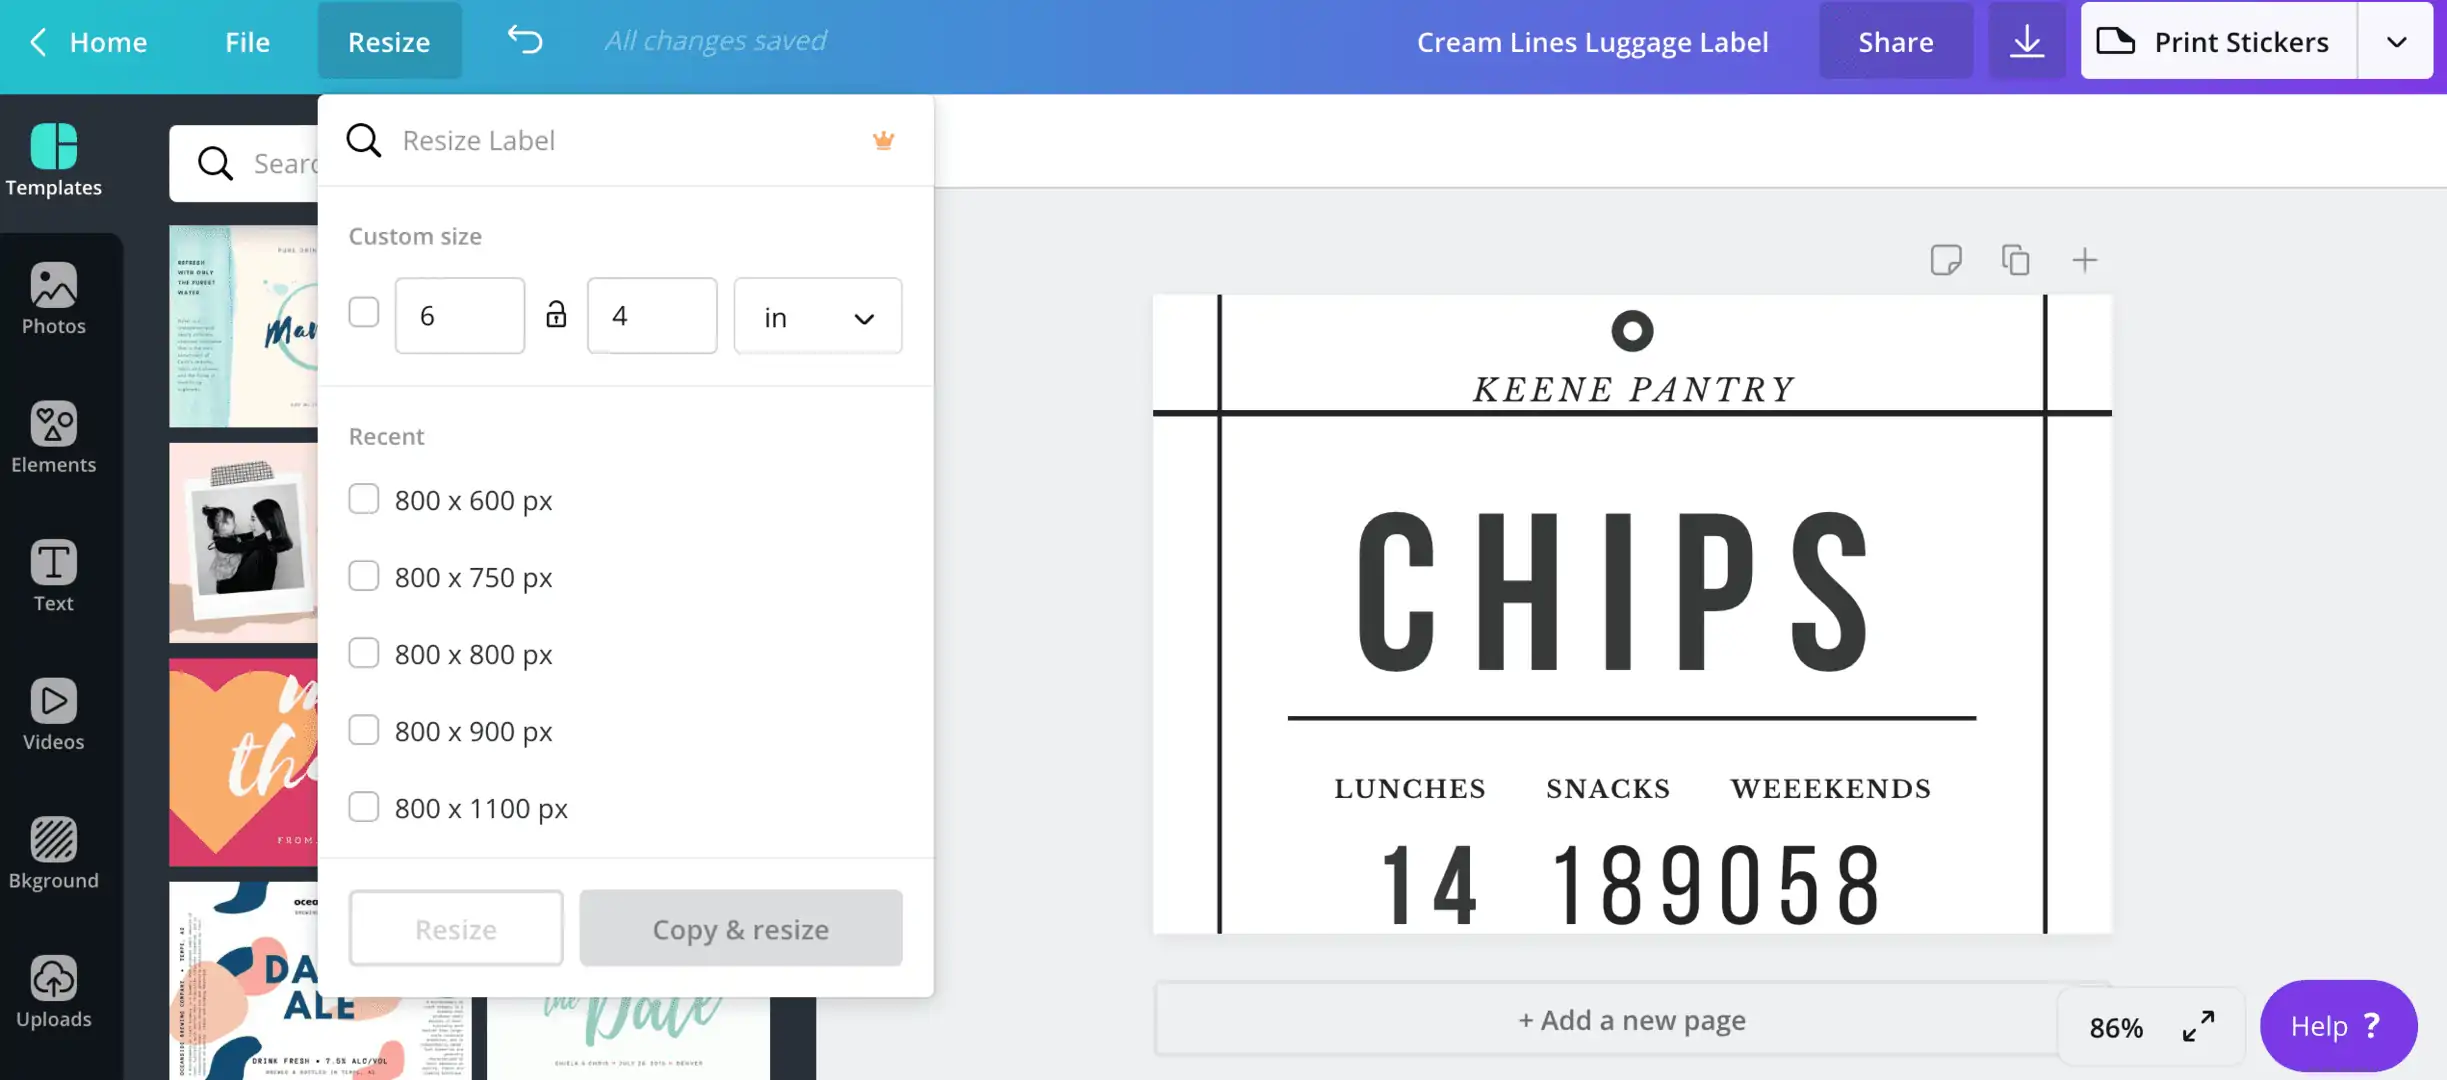
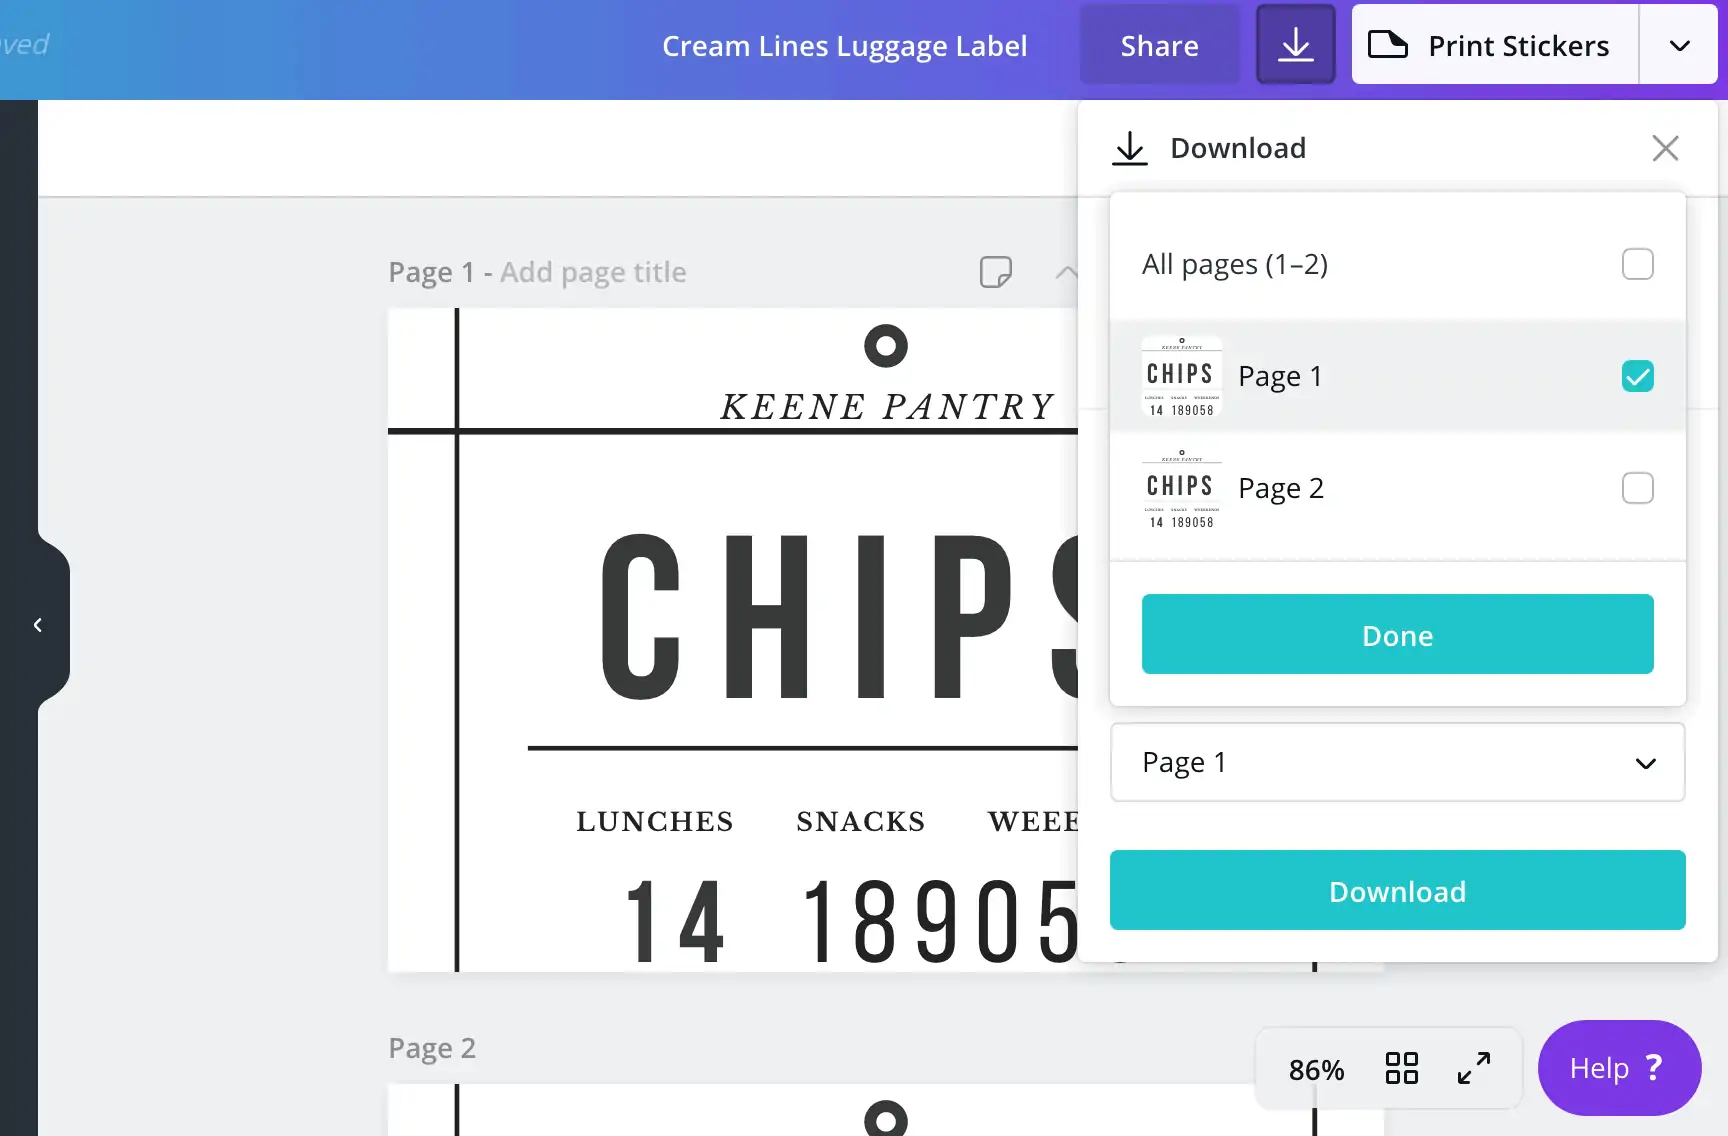 When you go to download your design, just download the page that has the design with the appropriate size. Then when you work on the next one with a different size you will already have your original one saved to your computer with the correct sizing and layout.